Styling Spaces: Kitchen & Dining

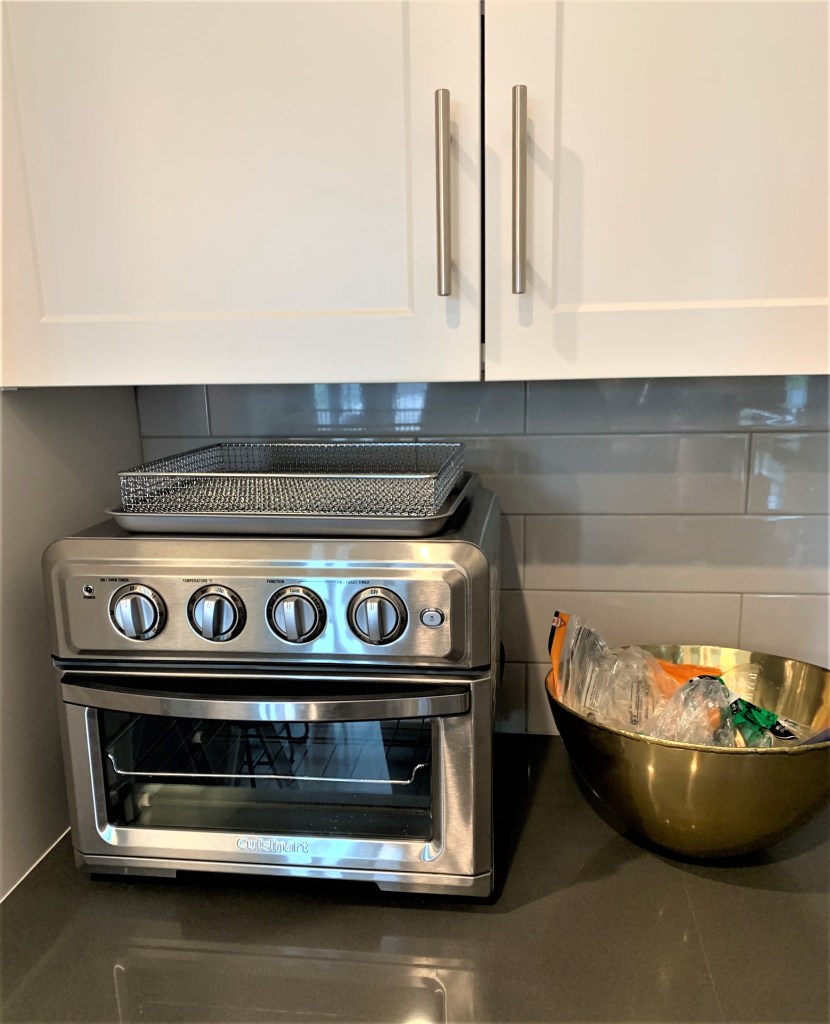
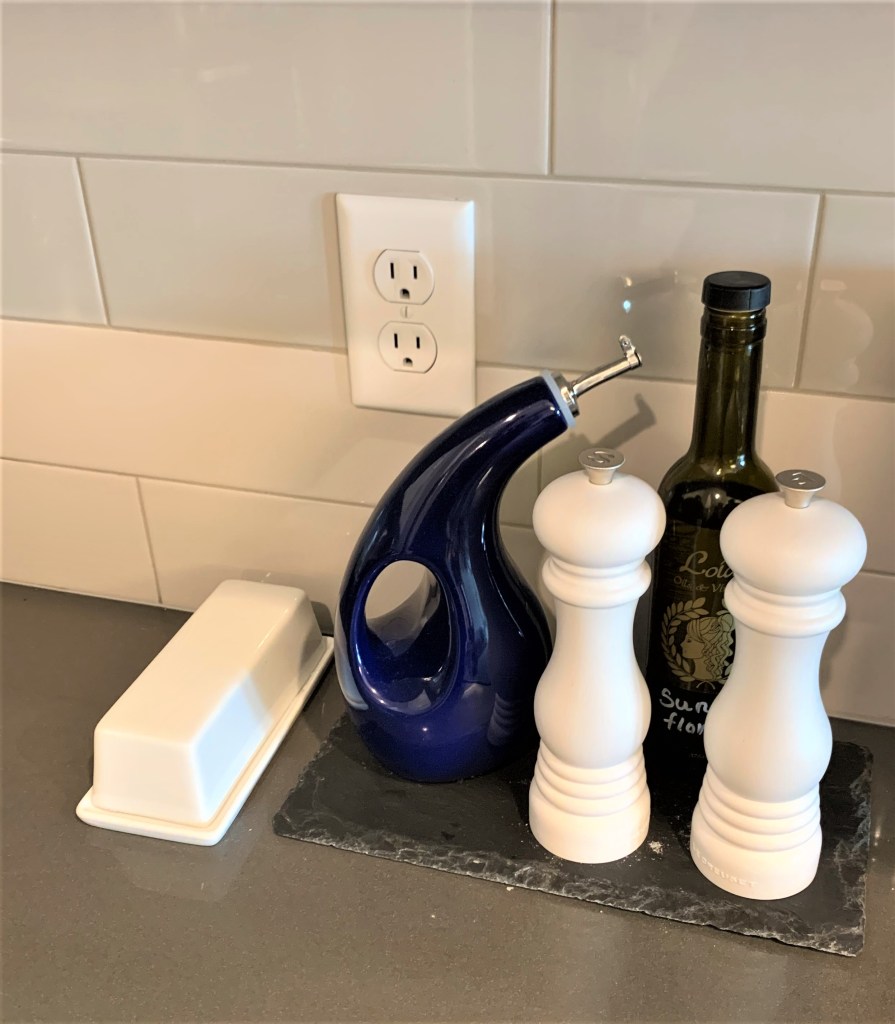
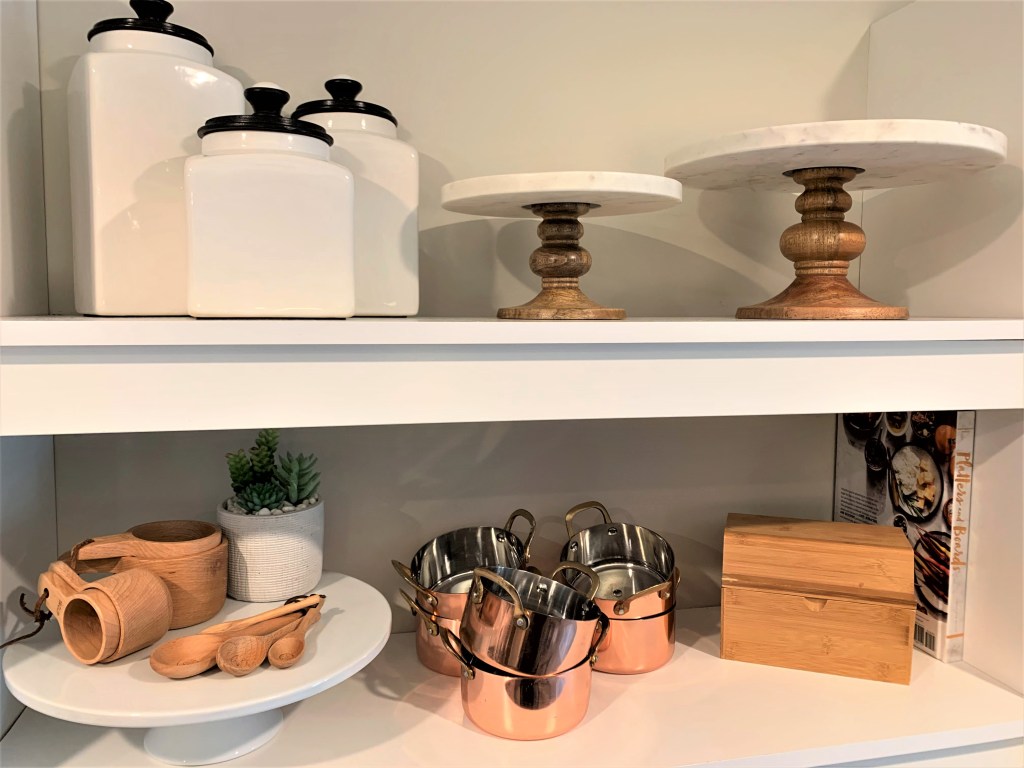
Welcome to my next design series! My favorite thing – styling a space. From open shelving, an end table, the walls, we will style it all when it comes to Greta Lee Designs! I try to be more minimal when it comes to styling, but you want to fill a space with just enough to bring warmth and dimension to it. Bare spaces are a no! These next 4 weeks I’ll take you through 4 different spaces of a home. First up is the heart of a home. The kitchen & dining rooms! Styling a kitchen is so fun, because most of the pieces you are going to use. Makes it somewhat easier, and practical. I’ve pieced together the finds below inspired by my own kitchen! A serving board for breads, pizza night or a charcuterie board. I love any type of serving bowl for hosting. And don’t forget to display those cookbooks! You can pull those out and read them like a magazine. I hope you feel inspired to bring some life to your kitchen cabinets and gather some people around food! Come back next week for round 2 of styling your space! XO – G

White Footed Serving BowlGlass Dessert CupsWood Serving BoardMartha Stewart Cookie PerfectionWilliams Sonoma Baking FavoritesGlass Dome Cake StandCeramic CanistersWood Scalloped BowlGold Hammered BowlCandlestick HoldersSherwin Williams Individual White Background Color

*I do not own the rights to the individual images above.

Styling Your Kitchen

So, you’ve all scrolled through Pinterest kitchens and wondered why yours doesn’t look like that, right? Well today I want to change that for you! I have some tips and tricks below on how you can make your kitchen look designer – even if the cabinets, back-splash and appliances aren’t. I want to show you then my apartment kitchen for fun and where I found certain pieces. Let’s get started!

  1. De-Clutter

To allow the eyes to see simplicity and beauty, they have to see less and the bones of what is there making a space. In any kitchen, clear as much off the counter as you can. If you can’t, make sure each item is strategically placed, and accordingly placed. In my kitchen I have my Kitchen Aid stand mixer in the small corner, right next to the cabinet of baking ingredients. The opposite corner our toaster oven is placed right next to the bread bowl. Some big appliances need to be on the counter, but as long as they aren’t all next to each other it won’t look cluttered.

2. Stylize in Groups

This trick may contradict ‘de-cluttering’, but you can’t set one thing out and allow for it to work on its own. Styling the items you have in your kitchen should be done in pairs, or groups. Like I mentioned with the toaster oven being next to the bread bowl, I paired the two together so it would look more cohesive. I also did this next to the stove top with my salt and pepper shakers and oils. Things that are used often can be left out and styled together to create a flow of design. I then added in little decor elements here and there like a faux plant next to my mixer and a utensil pot on the other side of the stove.

3. Be You

None of the items I used to stylize my kitchen were purchased for that reason. Every appliance and cooking item was bought before because I love to cook and bake fun things! The couple decor pieces were things I picked up knowing I wanted some gold, and green in my kitchen. The two open shelves I have are versatile to style and in any kitchen it should be styled to who the person is. If you are more simple, you may have nothing on your counter, or if you love to entertain you may have more plates and bowls on display. Create a space that is designed for you!

Of course if you would ever like some help on stylizing your kitchen, or any part of your home, you can email me at gretaleedesigns@gmail.com. I hope this post brought you some inspiration. Thanks for stopping by! XO, G